Start
Building the Solar System
Mapping the Solar System
Animating the Solar System
Visualizing the Solar System
Visualizing the Days and Seasons
Visualizing the Motion of the Sun

Building the Solar System

In this lesson, you build a simple solar system consisting of the Earth, Moon and Sun. To simulate lighting, you apply a Glow effect to the Sun and starlight to the background.

Start 3D Studio MAX.
Choose File > Save. Name the file Seasons.max.

Open the Geometry sub-panel and choose Sphere.
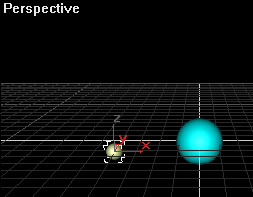
In the center of the Perspective viewport, create a small sphere by dragging.
In the Parameters rollout, set Radius to 12 and Segments to 48.
In the Name and Color rolout, name the sphere Earth.


In the same way, create a second sphere.
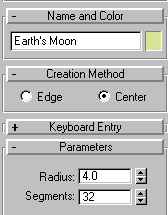
Set the radius to 4.
Set the segments to 32.
Name the second sphere Earth's Moon.


In the main toolbar, choose the Move tool. Then select the Earth.
In the main toolbar, right-click on the Move button. The Move Transform Type-In dialog box appears:

Right-click on the X and Y spinners (the arrows next to the entry fields).
The X and Y values reset to 0. The Earth moves to the exact origin point of the grid.

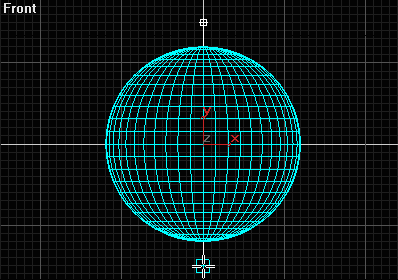
In the Front viewport, select the Earth and click Zoom Extents Selected.
Zoom out a little to give you room to work.

Open the Shapes sub-panel and choose Line.
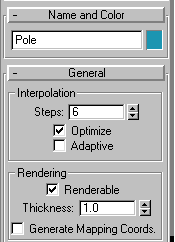
In the General rollout, enable Renderable.
Select 2D Snap from the snaps flyout in the Status Bar, Locks and Controls area.
Click on the Y-axis by clicking just above the Earth and just below. Right-click to stop line creation.
Name the line Earth's Poles.


Choose the Link tool from the main toolbar.
Link Earth's Poles to the Earth by dragging from Earth's Poles to the Earth:

Activate the Perspective viewport by right-clicking anywhere in the viewport.
In the Shapes rollout, choose Circle.
In the General rollout, enable Renderable.
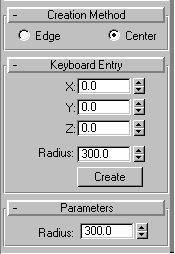
Open the Keyboard Entry rollout and set Radius to 12.1.
Click Create. The circle appears at the circumference of the earth.
Name the circle Equator and link it to the Earth:


Move the Earth out of view. The Equator and the Earth's Poles move with it.

In the Keyboard Entry rollout, change the Radius of the circle to 300.
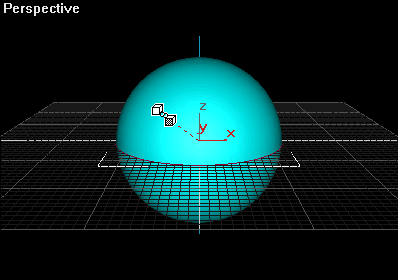
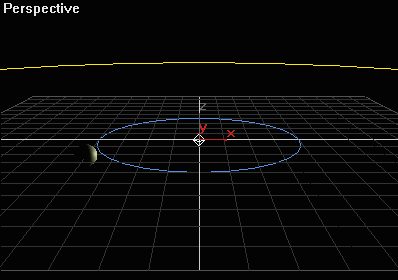
Click Create. A circle appears that is centered around the origin.
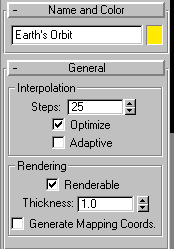
In the Name and Color rollout, name the circle Earth's Orbit.
In the General rollout, set the Interpolation Steps to 25 and check Renderable:


Click Zoom Extents Selected to see the entire circle:


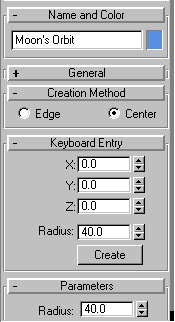
In the Keyboard Entry rollout, change the radius to 40 and click Create.
A second circle appears within the first.
Name the second circle Moon's Orbit.


Open the Lights sub-Panel and choose Omni.
In the Perspective viewport, snap the cursor to the origin.
Click once to create an omni light.
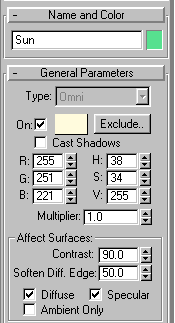
Set the color of the light to R = 255, G = 251 and B = 221.
Set the Contrast to 90.
Name the omni light Sun:


Now that you have build all of the elements of the solar system, use the Move tool to position the Earth, Moon and Moon's Orbit. Don't worry about being exact; the animation lesson will take care of that.

Choose Rendering > Effects.
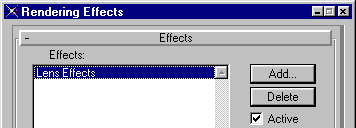
In the Rendering Effects rollout, choose Add. Select Lens Effects from the list and click OK:


In the Lens Effects Parameters rollout, select Glow. Then click the right arrow to enable the effect:

In the Lens Effects Global rollout, click Pick Light. Then click the Sun.
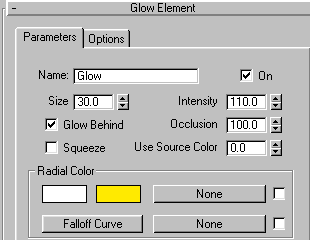
In the Glow Element rollout, change the red Radial Color to yellow.


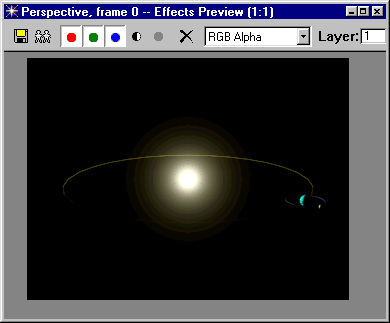
Activate the Perspective view. In the Effects rollout, click Update Scene. The glow effect is rendered the Effects Preview window:


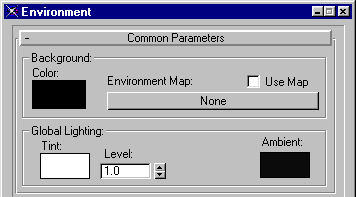
Choose Rendering > Environment.
In the Environment dialog box, click the Ambient color swatch:


In the Color Selector dialog box, pick a slate blue color:


Close the Color Selector dialog box. The Ambient color swatch turns to slate blue:

Render the scene. The dark sides of the objects are softly backlit by blue starlight:


Save your work as Seasons01.max.

Next: Mapping the Solar System


< Start
Top
Next >

© 2000 Michele Matossian