|
You create
the veins from lines that are set to be renderable. Create the hearts
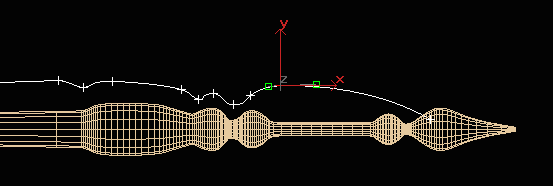
by lofting smaller circles around larger ones. Open Earthworm01.max. Make the first vein with a line that follows the contours of the guts. Use all corner points as you did in creating the guts. Name the line Vein01.
Fine-tune the curves using Bezier curves.
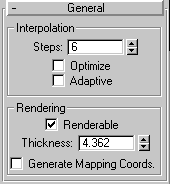
Set the line to Renderable. Do a test render and then adjust the Thickness.
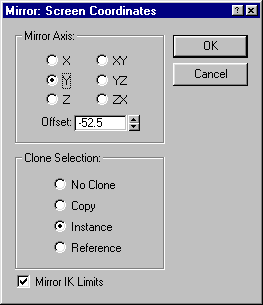
Mirror the line in Y and choose Instance. Offset the instanced line until it is an equal distance from the digestive system.
Assign the veins a deep pink color and render them along with the digestive system.
If the
veins have any kinks in them, smooth them out by slightly reducing the
curvature of the line. Save
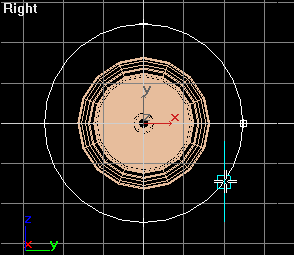
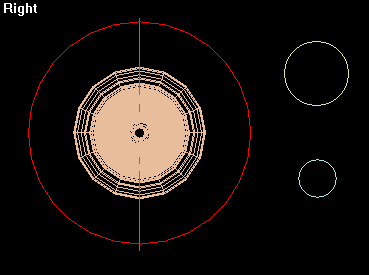
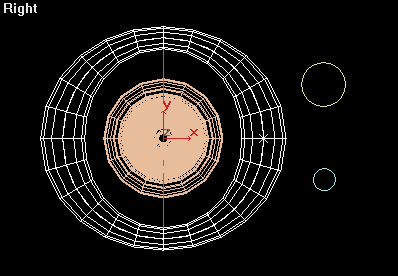
your work. Making the Hearts You make the hearts by lofting 2 smaller circles along a larger circle. I created the larger circle in the Right view with 2D snap turned on so that it would match up to the veins and digestive system:
I created the other two circles nearby:
Select the big circle and loft it using Get Shape.
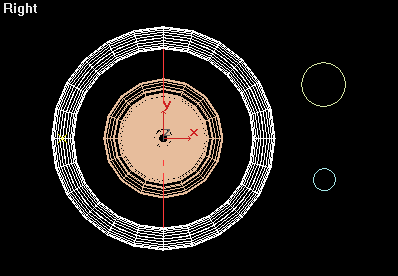
After picking the small circle the loft object looks like this:
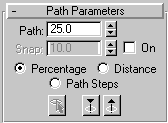
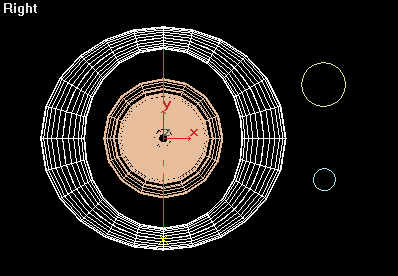
Change the Path parameter to 25% of the way around the circle. Then loft the second circle.
Repeat the above step to loft the small circle again at 50% and the second circle again at 75%.
In the Surface Parameters group, set the Shape Steps to 2.
The result has far fewer polygons:
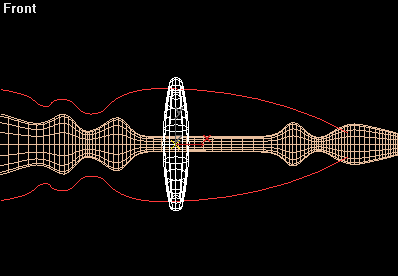
Name the loft Heart01 and position it along the veins.
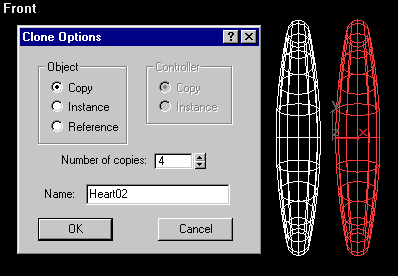
Clone the heart 4 more times in the X direction.
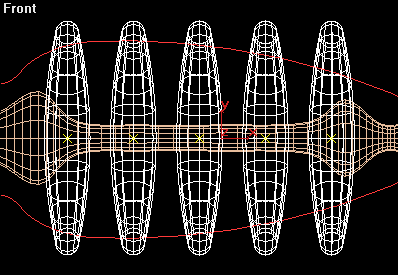
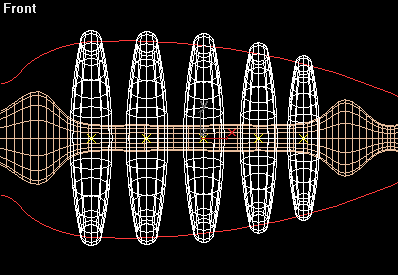
Position the 5 hearts along the short straight section near the beginning of the digestive system.
Uniformly scale the hearts to match the lines of the veins.
Assign the hearts a rich red color and group them. Name the group Hearts.
Select
the three circles you used to loft the hearts.
Save your work as Earthworm02.max. |
© 2000 Michele Matossian


