|
Mapping,
the art of applying materials to objects, is a great way to make models
look real -- without making making them too complex. In this lesson,
you learn how to make the earthworm look like it has hundreds of ringed
segments, without adding a single polygon. Open Earthworm03.max. Select the guts and hide everything else:
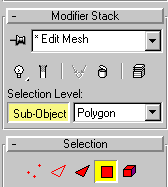
Change the view to Wireframe. Apply an Edit Mesh modifier and choose Polygon-level selection:
Select all the polygons behind the clitellum and assign them to Material ID 2.
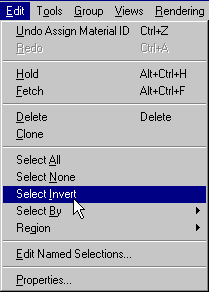
Invert the selection and assign the rest of the polygons to Material ID 1.
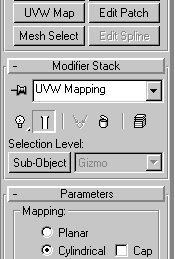
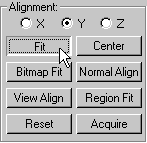
Apply a UVW Map modifier and make it Cylindrical. Fit the modifier to the object and align it in Y.
The modifier should look like this:
Press M
to open the Material Editor.
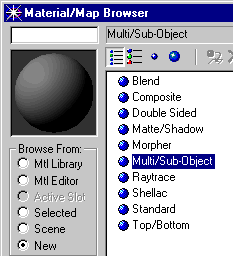
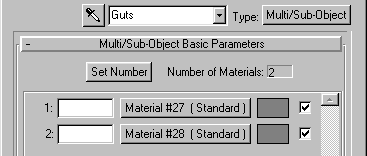
Name the material Guts. Set the number of (sub-)materials to 2.
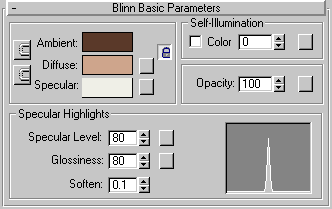
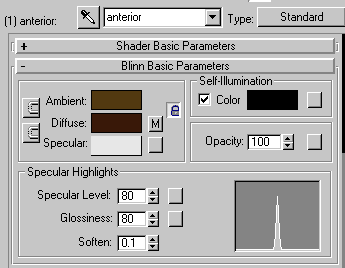
Click Material #1 and give it a name, such as Fore. Assign the material a shiny cream color.
Click
Go to Parent. Drag-copy the first material, Fore, onto the second material.
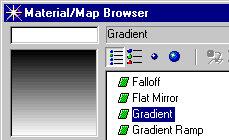
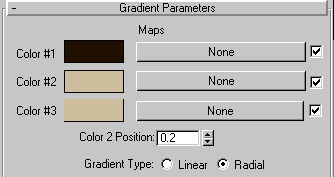
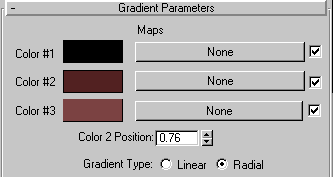
Click the Diffuse map button. In the Material/Map Browser, choose Gradient Map.
Assign
a light brown color to Color #2 and copy the same color onto Color#3.
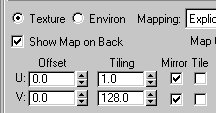
In the Coordinates rollout, tile the map to make the posterior end of the digestive system look like it has ridges.
The finished result should look something like this:
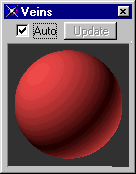
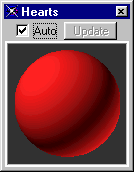
Save your work. The veins and hearts are matte shades of red. Select two unused material sample slots and match their colors to these:
Name the materials Veins and Hearts and apply them to the veins and hearts. Render:
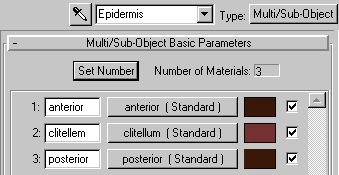
Hide everything and then unhide the Epidermis. Select the Epidermis and then:
Apply a UVW Mapping modifier and choose Cylindrical mapping in Y:
Select
an available sample slot and name the material Epidermis.
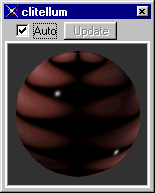
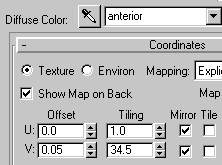
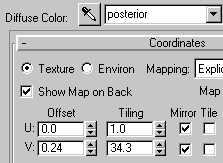
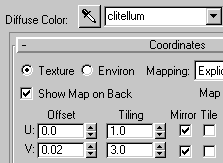
Use setting like these to make the illusion of ridges.
Each section of the skin needs different tiling to look right.
Apply and Normal modifier. Flip the normals to turn the skin inside out.
Unhide the guts and the circulatory system. Render to see the final result:
Save your work as Earthworm04.max. Next: Animating the Worm Squirming |
© 2000 Michele Matossian


