Rendering the Animation


In this lesson, you render the animation using a cross fade transition from one view to another.


Open Earthworm06.max.

Choose Rendering > Video Post. The Video Post dialog box appears:

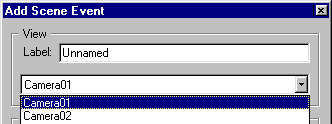
In the Video Post dialog box, click Image Input Event.
In the Add Image Input Event dialog box, choose Camera01 from the drop-down menu:

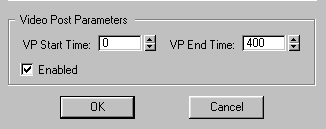
Set VP Start time to 0 and set the End time to 400. Then click OK.

Camera01 appears in the queue. The range bars stretch from 0 to 400:

In the same way, add Camera02 to the queue. This time, set the VP Start time to 360 and the end time to 1500.

In the queue, use the CTRL key to select both Camera01 and Camera02.
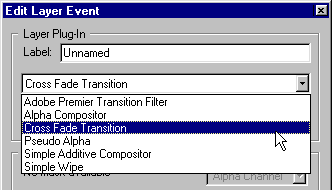
In the video post tool bar, click Add Image Layer Event.
In the Edit Layer Event dialog box, choose Cross Fade Transition from the drop-down menu:

Set the Video Post Start Time to 360 and the End Time to 400 and click OK.

The cross fade transition appears in the queue. Its range bars appear at right:

Click Add Image Output Event. Then click Files.
Name the output file Earthworm.avi. Click Save and OK.
Here is how the queue should look when you are done:

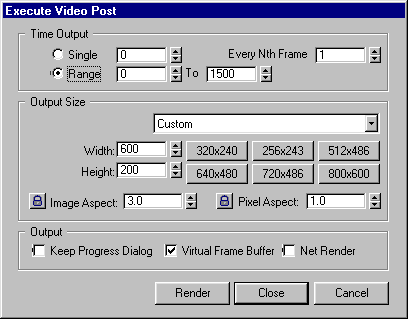
Click Execute Sequence. In the Execute Video Post dialog box, choose Range.
Make sure that the range is set to 0 to 1500.
Set the Width to 600 and the Height to 200.
Close the dialog box.


Save your work as Earthworm07.max.

When you are ready to render, click Execute Sequence. The views from each camera are rendered in sequence. When the cross fade transition is rendered, alternate frames are rendered from each camera.

When the process is finished, close all the dialog boxes and choose File > View File.
Open Earthworm.avi and watch the animation.

Congratulations on a job well done!


© 2000 Michele Matossian